
For admins
Set up your club
Create your club, add your details, and go live for members in a few steps.
Setting up a club in Lobtix takes about 15 minutes. This guide walks through the essentials — you can refine everything later from the admin console.
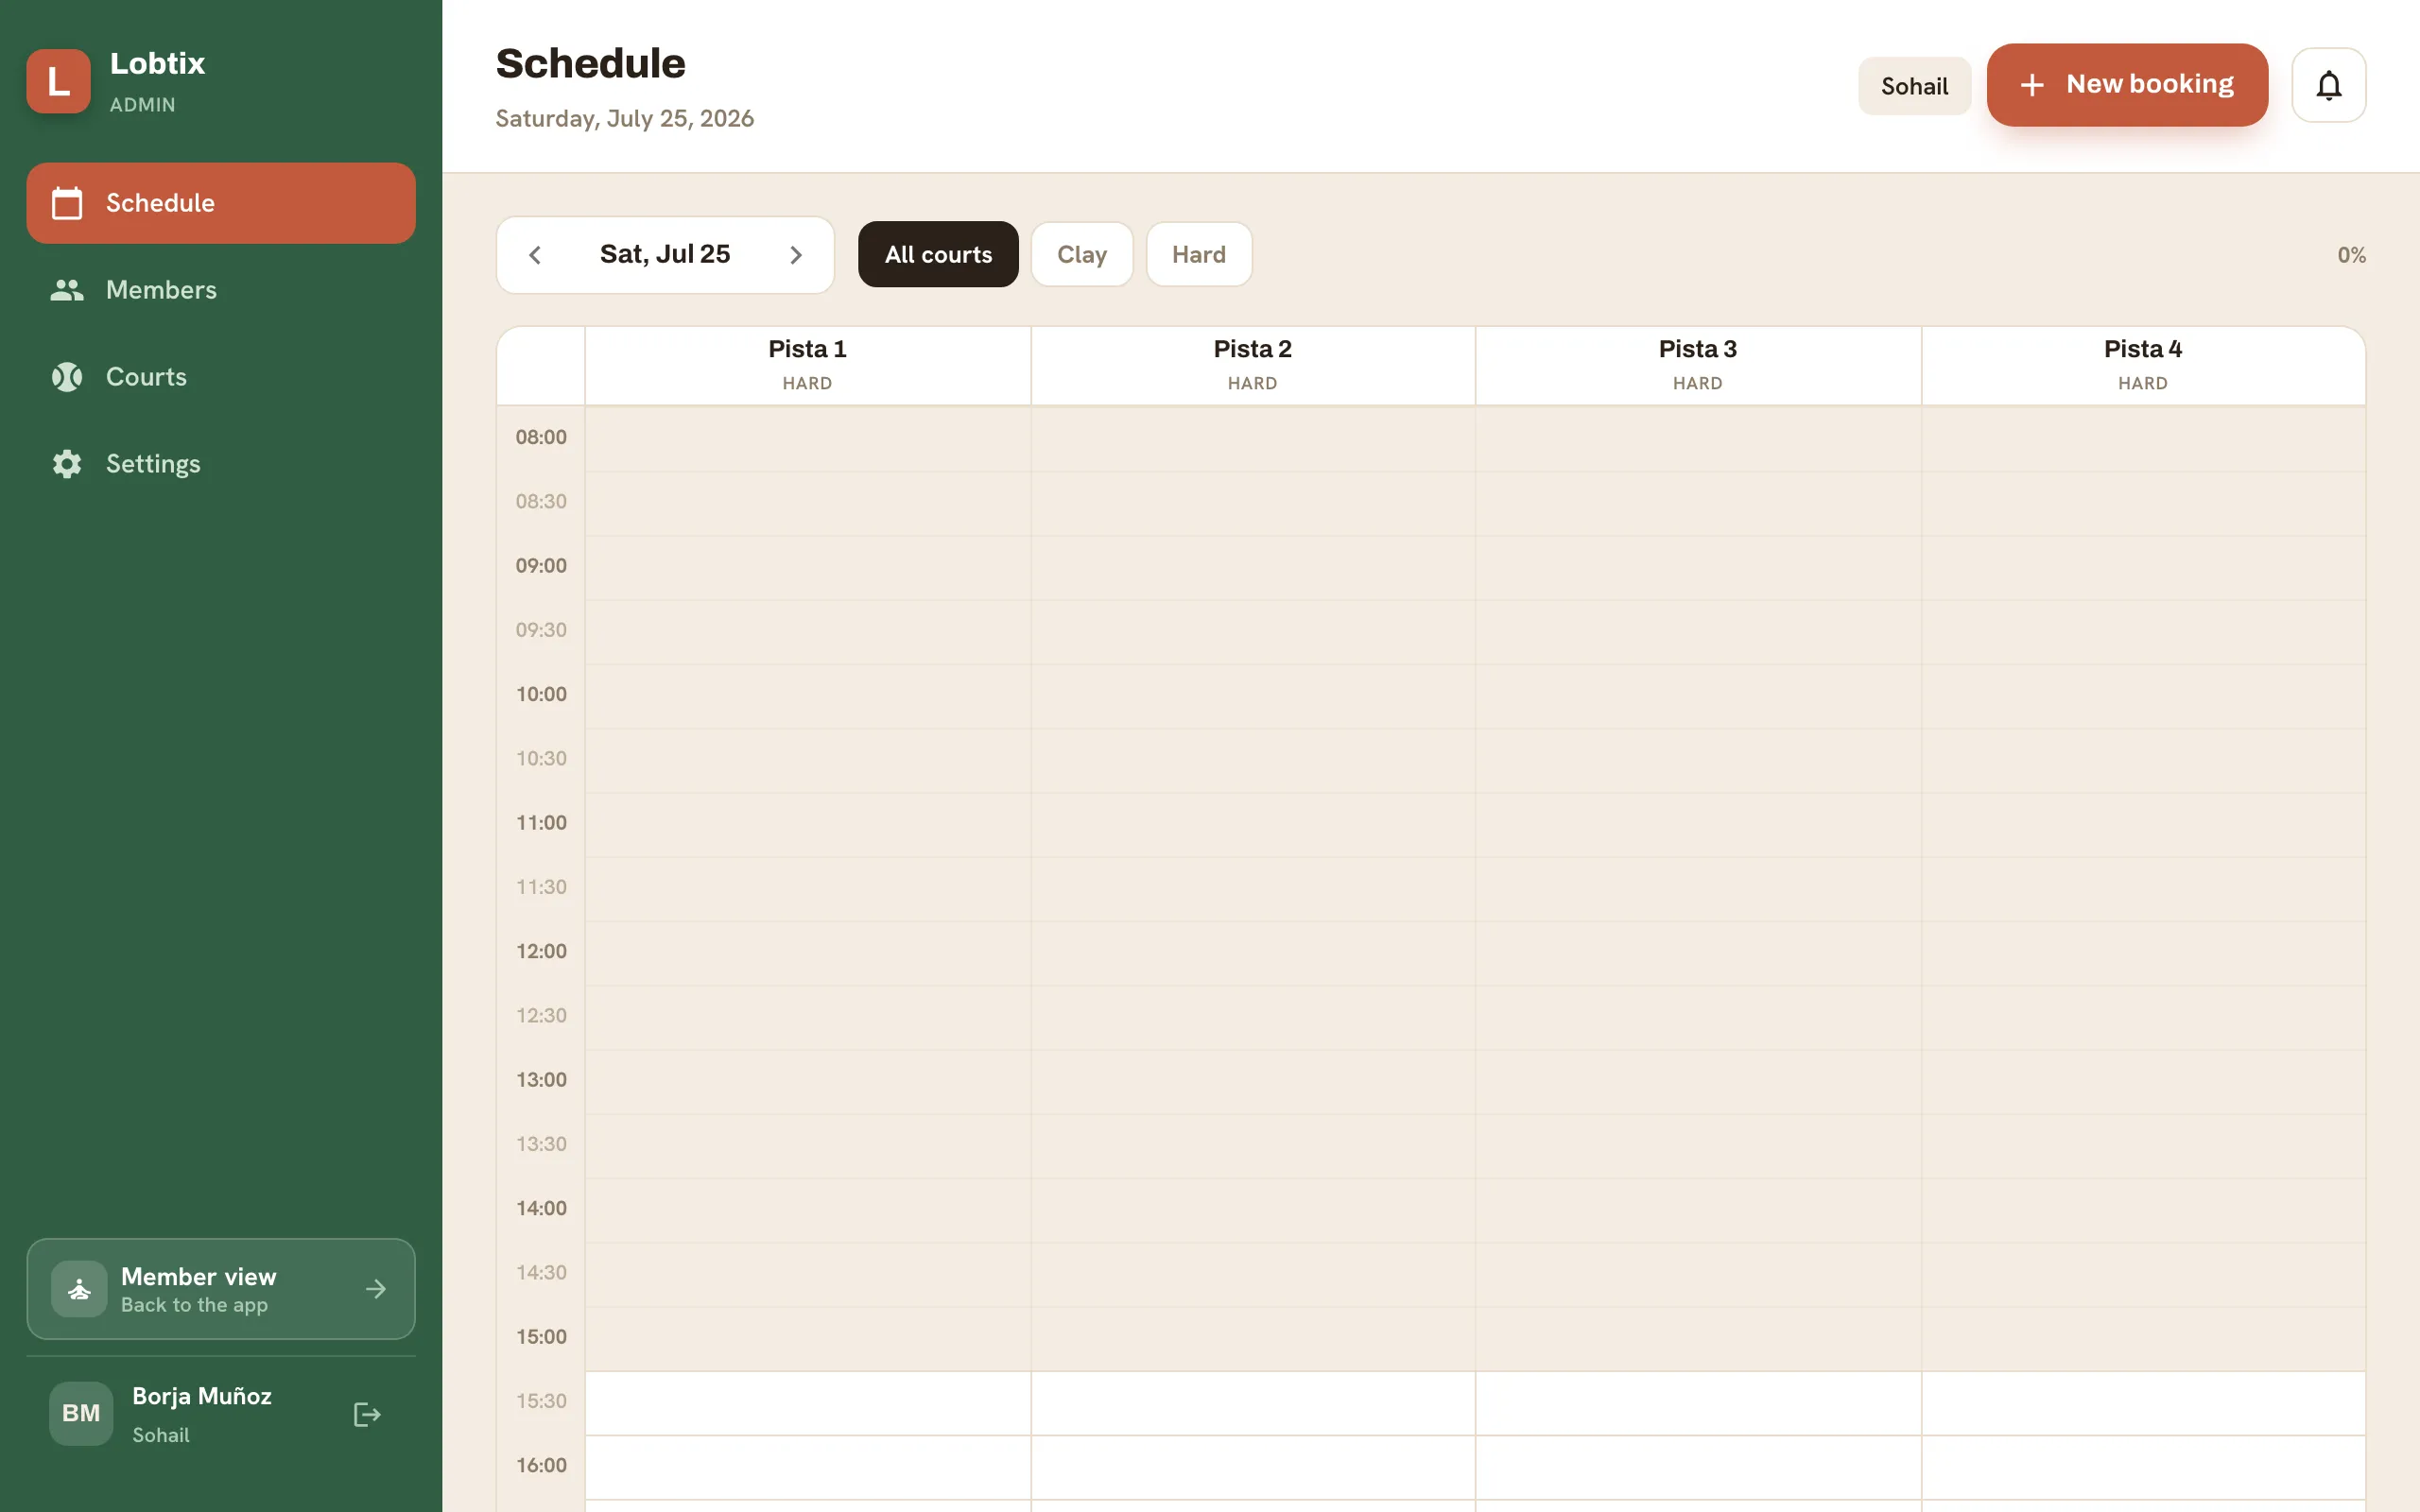
1 · Create the club
Section titled “1 · Create the club”Most clubs start by signing up for a free trial: from Get started, tap Create a new club to begin a 14-day Pro trial — full access, no card required.
- Tap Create a new club to start your trial. (Or, if you were invited to run an existing club, switch to it instead.)
- Add your club name, city, timezone and a contact email.
- Upload a logo — it appears in the app header and on member confirmations.
2 · Add your courts
Section titled “2 · Add your courts”Courts are what members book, so this comes first. For each court set a name, surface (clay, hard or grass) and its opening hours. See “Add courts & set opening hours” for detail.
3 · Set booking rules and pricing
Section titled “3 · Set booking rules and pricing”Decide how far ahead members can book, how many active bookings they can hold, your cancellation window, and per-hour pricing. These rules show to members on the Book tab.
4 · Invite your members
Section titled “4 · Invite your members”Bring members in by email invite or share a join link. You can assign roles — member, trainer or admin — as you go.
Can't find what you're looking for? Our team is happy to help.